 |
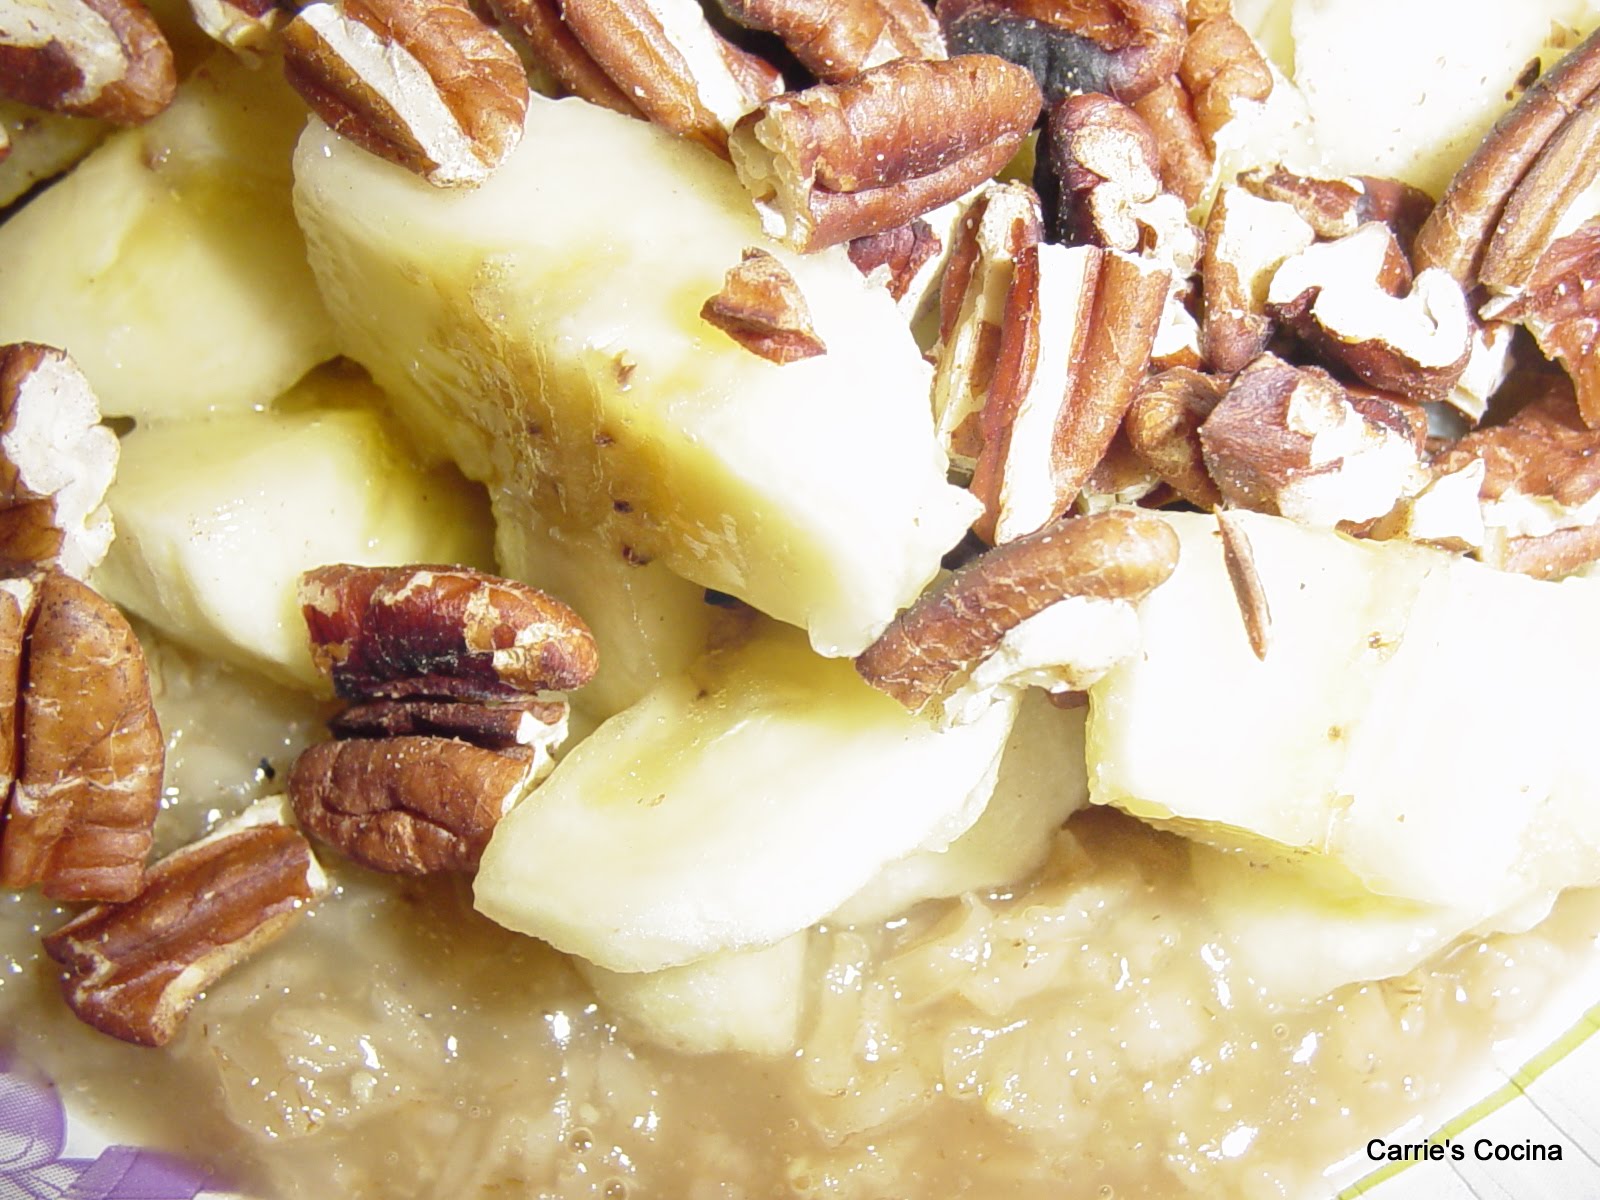
| Banana Pecan Brown Sugar Oatmeal |
Banana Pecan Brown Sugar Oatmeal
This only makes a single serving, but you can easily double it, triple it, quadruple it...
- 1 1/4 C. Water (that's the amount of water I need at my high altitude, in my dry climate, you may only need 1 C. Water).
- Salt, Just a Pinch
- 1/2 C. Rolled Oats
- 3 TBSPS Brown Sugar
- 1 TBSP Butter
- 1 Banana
- 3 TBSPS Pecans, broken into pieces and toasted, (already toasted, or toast them (in a dry skillet) as you put the water on to boil).
In a pan appropriate for making oatmeal, bring the water and the salt to a boil. But, don't watch it, you know what they say about a watched pot! Instead, with a fork, stir together the oatmeal and the brown sugar.
Once the water is boiling, and it's not going to take long, stir in the oatmeal mixture.
While the oatmeal is boiling, slice the Banana. Have the butter and the pecans ready and waiting. Also, don't forget to stir it occasionally.
Once the oatmeal is cooked, spoonula it into a bowl. Quickly top it with the butter, the bananas, and the pecans (yes, in exactly that order).
When you're ready to eat (and don't wait long, oatmeal is better eaten warm, and sooner rather than later) stir it, and enjoy! I know I do enjoy it.
It could be added to a brunch menu. It could also be eaten as a dessert, but a bowl of oatmeal for dessert? Really?
Life is short, eat it on an otherwise busy weekday for breakfast and enjoy it.
Originally eaten on Sunday, October 16, 2011 (and on Monday, and on Tuesday, and don't bet against me eating it on Wednesday, too).